Modern engines generate substantial amounts of energy, which in turn produces significant heat. This heat must be effectively dissipated to prevent engine components from overheating, making it crucial to monitor your coolant levels regularly. Understanding how to top up engine coolant or change it is essential for maintaining your vehicle’s performance and longevity.
Steps to Replace Engine Coolant
If you find it necessary to replace your engine coolant, follow these detailed steps to ensure the process is done correctly:
- Ensure Safety First: Before beginning any work on your vehicle, make sure that the engine is completely cool. This is vital for your safety, as opening a hot coolant reservoir can lead to burns from steam or hot liquid. Additionally, park your car on a level surface to facilitate proper drainage.
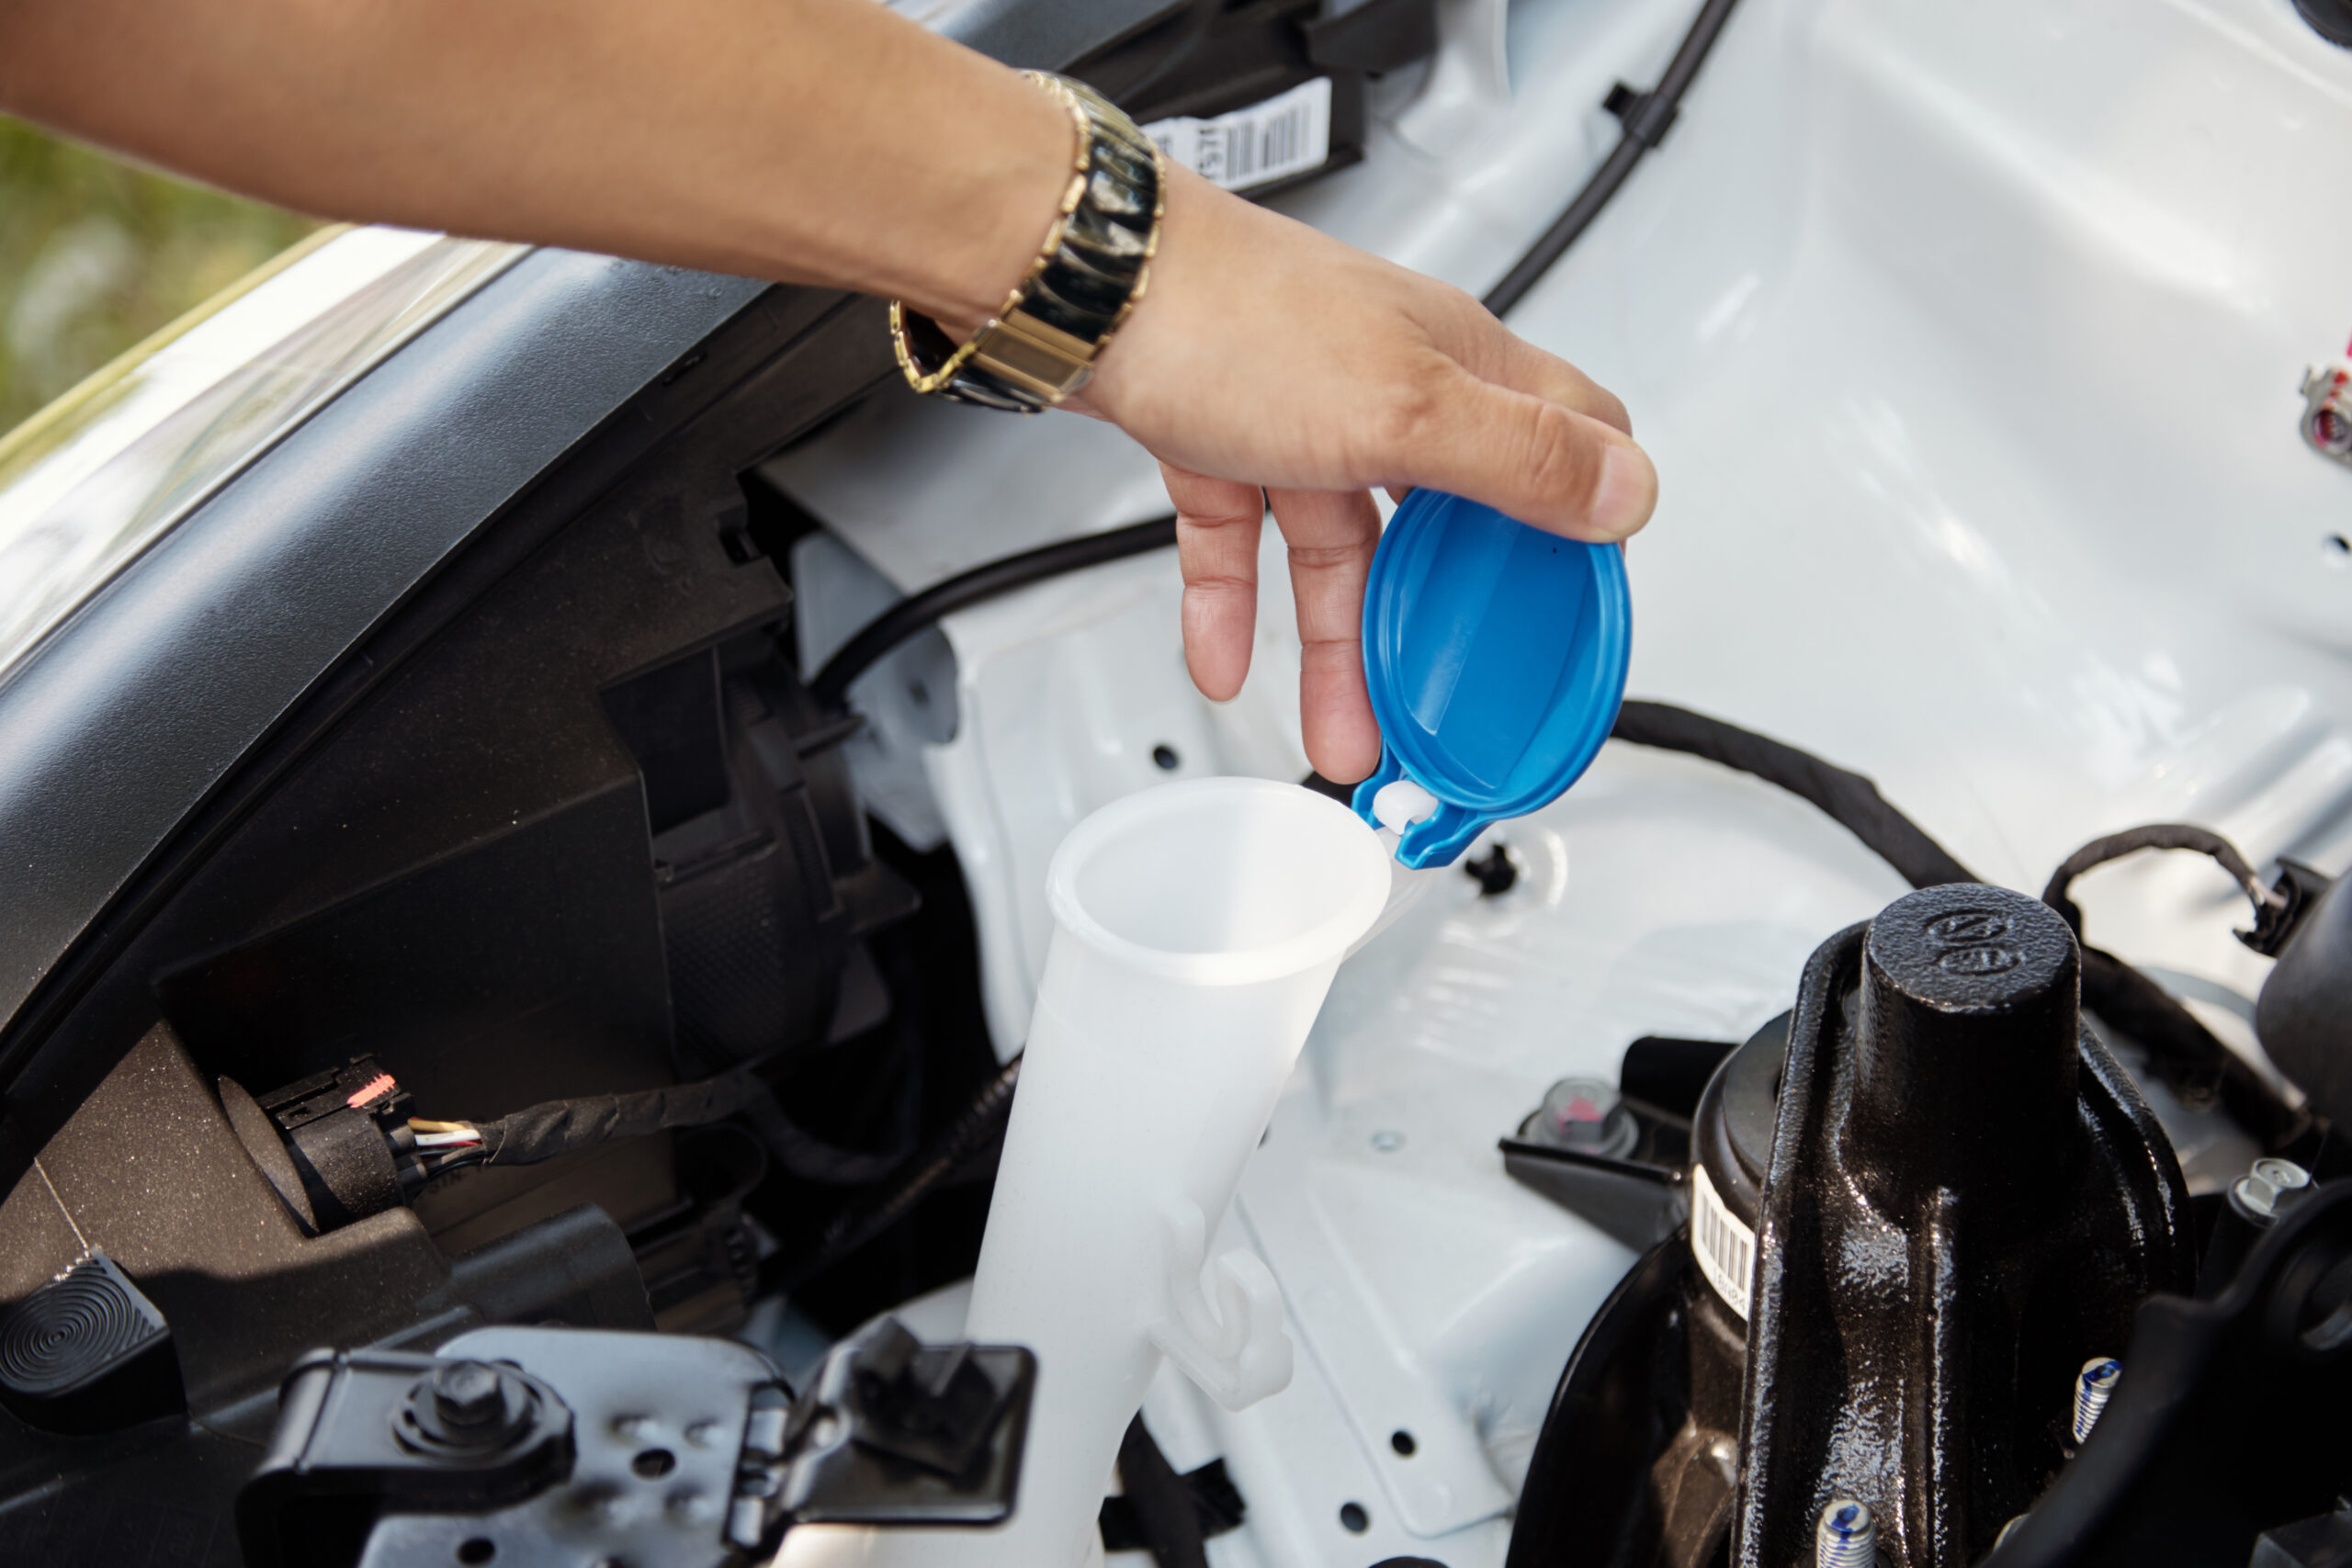
- Locate the Coolant Reservoir: Open the bonnet (hood) of your vehicle and locate the coolant reservoir. This is typically a large plastic container that holds a colored liquid—usually green, orange, or pink—indicating the presence of antifreeze.
- Drain the Old Coolant: To replace the coolant, you will need to drain the old antifreeze from the reservoir. Locate the hose outlet at the bottom of the reservoir and carefully undo it, allowing the old coolant to flow into a bucket or container. Be cautious during this step, as the fluid may still be warm.
- Dispose of Old Coolant Responsibly: It’s important to dispose of the drained coolant in an environmentally safe manner. Many local auto parts stores or recycling centers accept used coolant for proper disposal, so check with them about their policies.
- Refill with New Coolant: Once the reservoir is empty, reattach the hose securely and refill the container with a mixture of engine coolant and distilled water. Refer to your manufacturer’s handbook for the recommended ratio of coolant to water; this is typically around 50/50 but can vary based on specific requirements.
- Run the Engine: Start your engine and let it run for a few minutes without replacing the cap on the reservoir. This step allows any trapped air bubbles in the cooling system to escape before sealing it up.
- Bleed Air from the System: Locate the bleed screw on your radiator—this is essential for ensuring that all air pockets are removed from the system. Open this screw carefully and allow a small but steady stream of coolant to flow out. Once you see this continuous stream without air bubbles, close the screw tightly.
- Final Top-Up: After bleeding out any remaining air, check both the reservoir and radiator levels again. Top up any lost coolant in both areas until they reach their respective “Max” lines before securely replacing all caps.
Signs of Engine Overheating
Being aware of potential overheating symptoms is crucial for maintaining your engine’s health. If you notice any of the following signs, it’s imperative to take immediate action:
- Temperature Gauge Warning: If your temperature gauge moves into the red zone and activates a warning light, this indicates that your engine is overheating and requires immediate attention.
- Steam Emission: Seeing steam escaping from under your bonnet is a clear sign that the coolant in your radiator has reached its boiling point and needs replacement.
- Burning Smell: An unusual burning odor can result from various materials within your engine starting to overheat and burn when temperatures rise too high.
- Unusual Sounds: If you hear a ticking or knocking sound coming from your engine, it may indicate that your engine oil has thinned out due to excessive heat and is no longer providing adequate protection for engine components.
- Coolant Leaks: Finding a pool of coolant beneath your vehicle could signify an overheating issue or a leak in your cooling system that needs immediate investigation.
The Role of Engine Coolant
Engine coolant, often referred to as antifreeze, plays a vital role in maintaining optimal engine temperatures. It protects against overheating by absorbing excess heat generated by engine operation and transferring it away from critical components. Additionally, engine coolant helps prevent freezing during extremely low temperatures by incorporating corrosion inhibitors and antifreeze agents into its formulation.
When Should You Top Up Engine Coolant?
There isn’t a strict rule regarding how often you should top up or change your engine coolant; practices can vary among different manufacturers. Some manufacturers may not specify regular changes in their maintenance schedules, while others might recommend changing it every few years or based on mileage intervals. The key takeaway is to remain vigilant for any signs of potential issues mentioned earlier and address them promptly.
Conclusion
Regular maintenance of your vehicle’s cooling system is essential for preventing overheating and ensuring optimal performance. By understanding how to check and replace engine coolant effectively, you can help extend the life of your engine while maintaining its efficiency. Always refer to your vehicle’s owner manual for specific recommendations regarding coolant types and maintenance schedules tailored to your model, and don’t hesitate to consult with a professional mechanic if you have any concerns about your cooling system’s health or functionality. Taking these proactive measures will help ensure that you enjoy safe and reliable driving experiences for years to come.